Stogie Tips: Build a Temperature-Controlled Humidor
5 Jan 2010
There are many options when it comes to deciding how to store your cigars. You can choose from coolers, Tupperware, wine refrigerators, desktop humidors, cabinet humidors, etc. What you choose will surely depend on your needs and means. Living in Florida, I was looking for a storage option that would help me control the temperature during the summer months without breaking the bank.
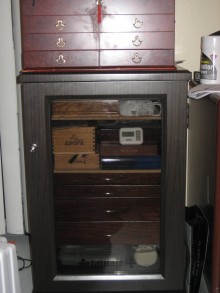 I had two choices: a temperature-controlled unit from a humidor company such as this unit from Avallo, or a converted thermoelectric wine cooler. Due to a limited budget, I could not afford the estimated $1,500-$2,500 for a humidor like the Avallo. So I decided on the wine cooler option. After looking around for awhile I was able to find this 28-bottle unit from Edgestar for $199 shipped.
After doing some research, here’s how I converted this wine cooler into a humidor:
1. The first thing I did was get rid of the plastic smell on the inside. My unit had a very distinct plastic smell when I took it out of the box. I wiped the inside down with some warm water with a little bit of baking soda. Then I let the unit air out for a couple of days. There was still a faint smell, so I closed the unit and let it run for a couple of days with just a box of baking soda in it. After that, the smell was gone and I started to work on the customizations.
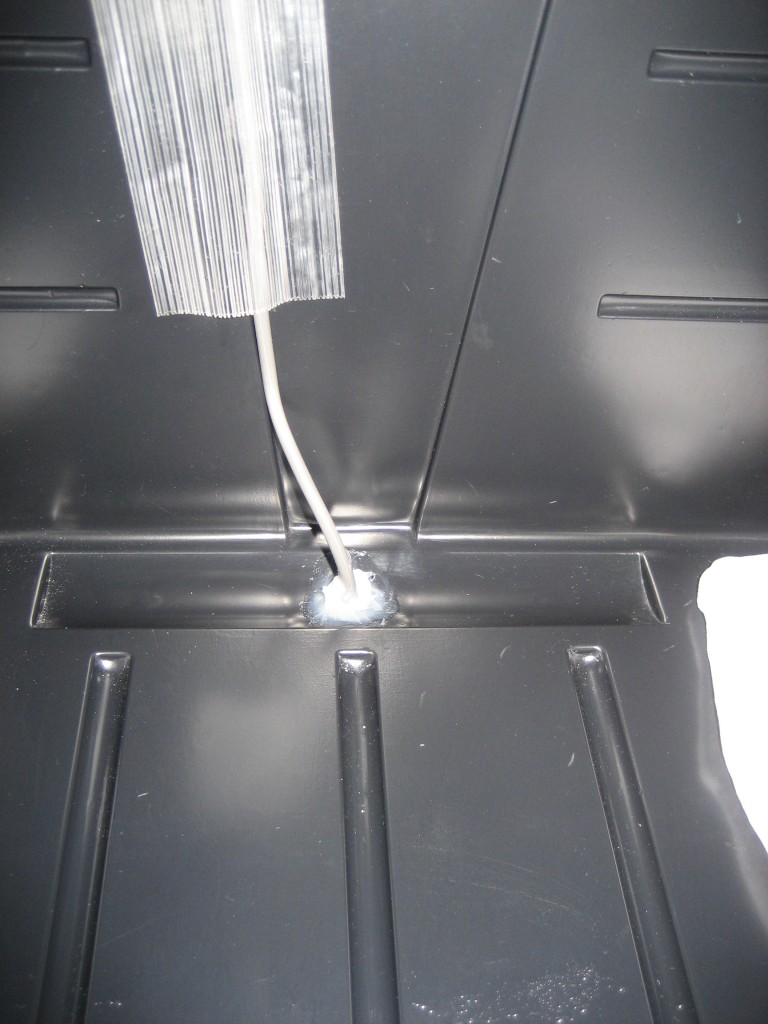
2. The unit comes with an S-shaped drain to collect condensation that forms inside the unit. I wanted to run some wires through the drain hole, so I drilled straight down out the bottom to give me a straight shot to run the wires.
3. Then I ran the wires for an electronic temperature controller and a computer fan through the hole I just drilled.
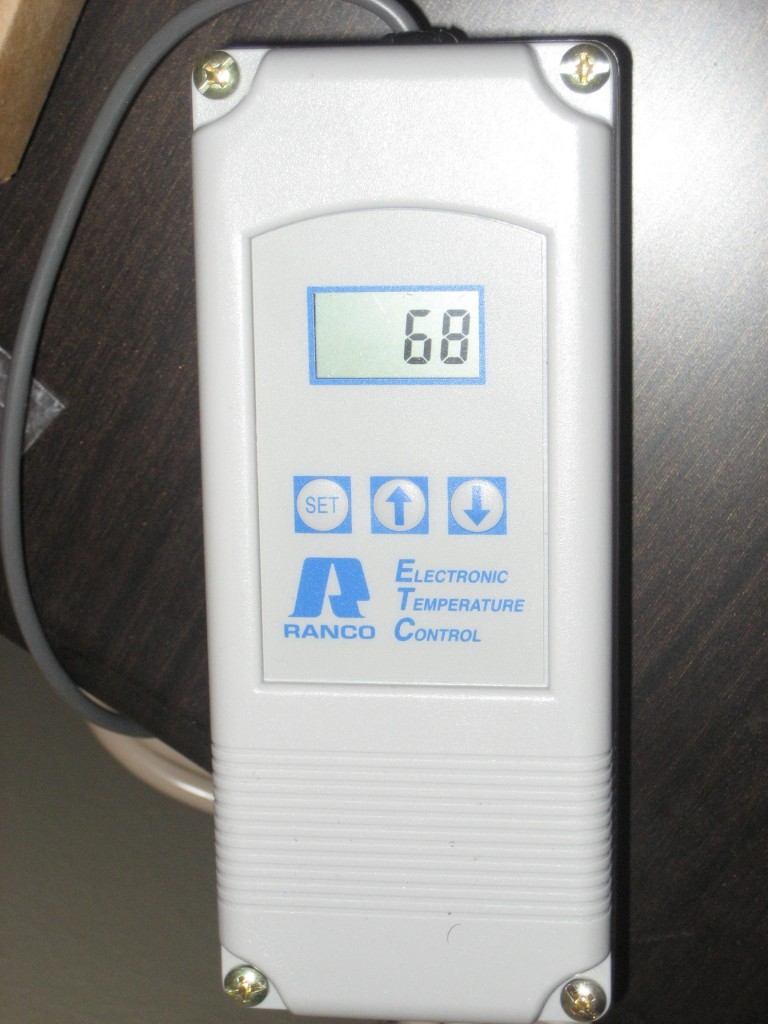
a. The electronic temperature controller allows me to keep the temperature in the unit between exactly 66 and 68 degrees. The unit came with an analog temperature controller and I wanted more precision than that would provide. I have the analog control set just below medium so that the unit cools at a slow rate when it is on. This helps minimize humidity swings related to the cooling. An electronic temperature controller is not necessary for units with a digital temperature control or if you don’t care to be that precise.
b. The computer fan runs on a timer and is used to circulate air in the unit when it is not running. Again, this step is not mandatory, but I felt it was a good addition in my situation. To power the computer fan you will also need a 4-pin to AC converter.
4. Next, I needed to seal the drain hole to prevent cold air and humidity from leaking out. I used an odorless clear silicone to seal the hole around the wires. The silicone sets up in about 2 hours but takes about 24 hours to completely cure so I left the unit open overnight.
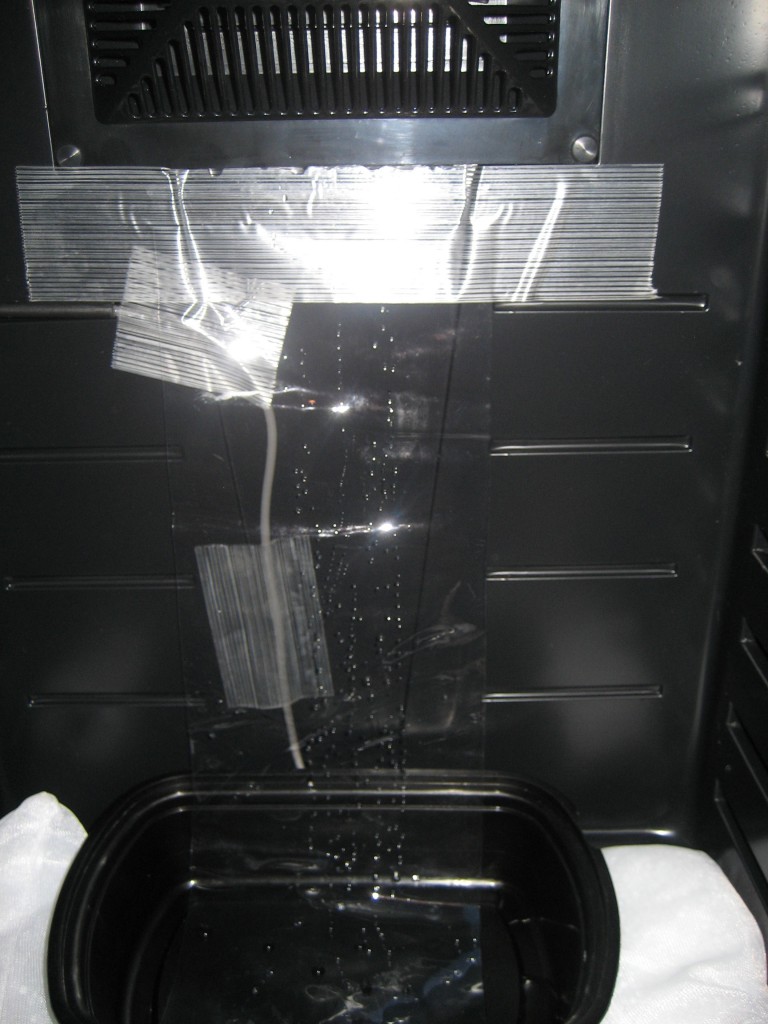
5. Since I plugged the drain, I needed to come up with a way to collect any condensation that formed in the unit. I used a piece of clear vinyl affixed under the fan (where the condensation was forming) and laid the bottom in a small plastic bin. If any condensation forms it runs down the vinyl and collects in the bin.
6. Then I put several tubs of distilled water, some empty boxes, and 2 pounds of 65% humidity beads in the unit to get the humidity to the level where it needs to be to store cigars. After a day, the humidity was spot-on.
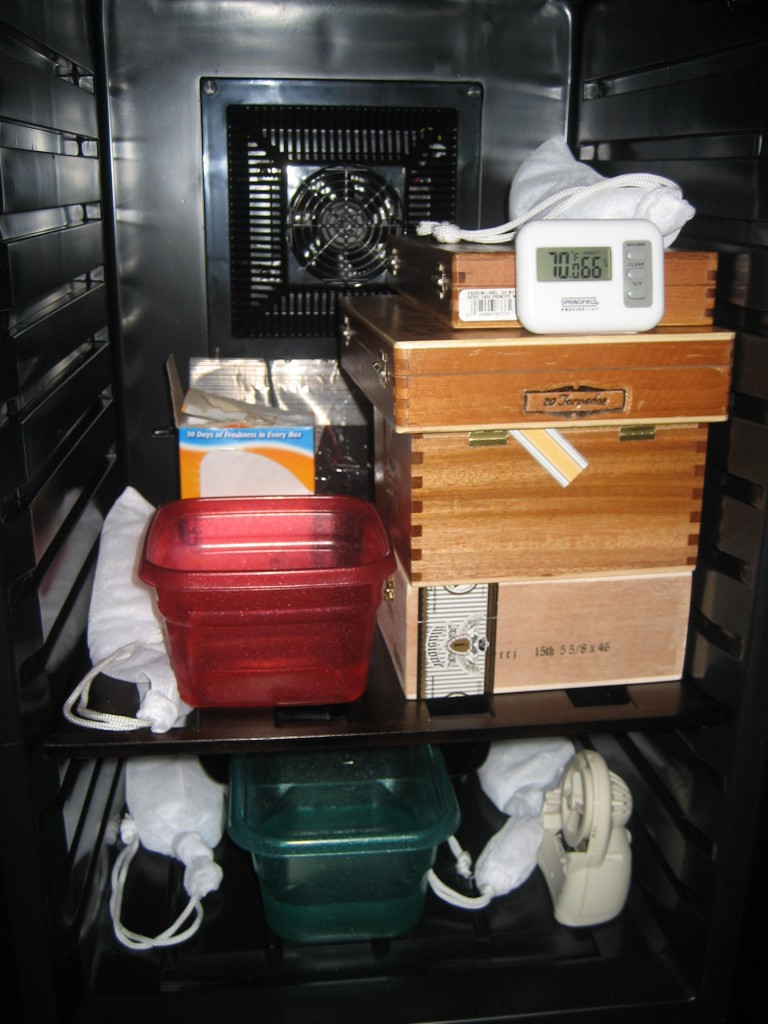
7. Finally, I was ready to start putting my cigars in the unit. While you can juse the shelves that come with the unit, many people prefer to have some cedar drawers or shelves. I had some custom drawers made by Chasidor. The drawers are oak but lined with cedar and have glass tops. I also added two cedar shelves to the unit.
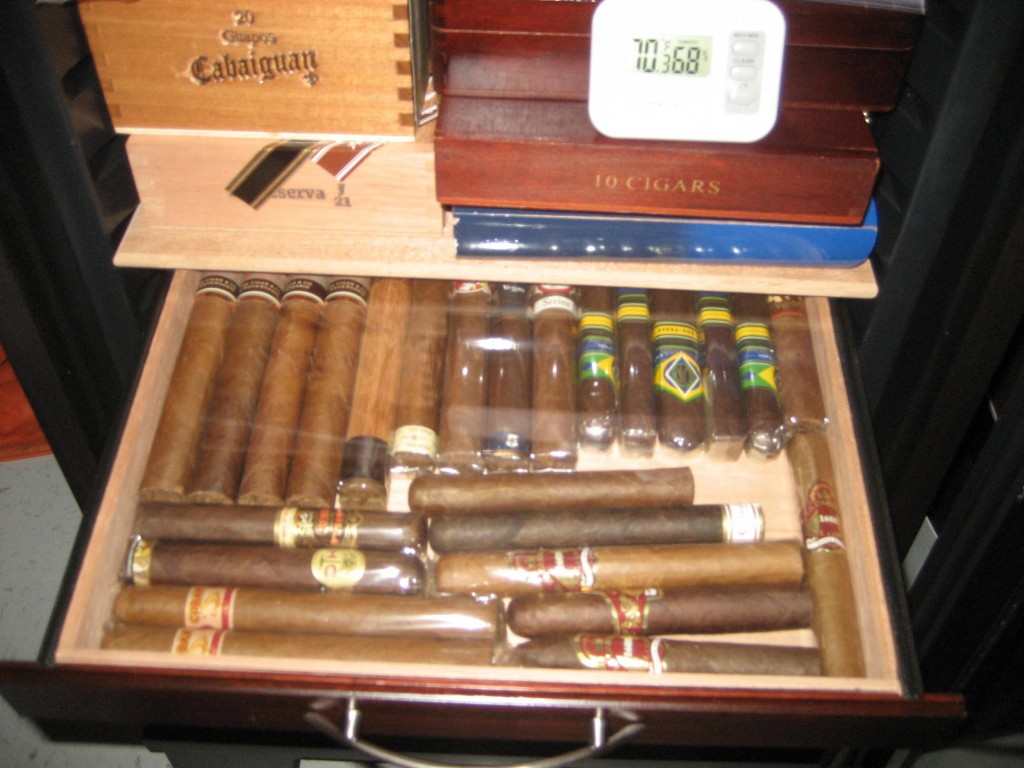
After all that work, my cigars now have a nice, custom-looking, temperature-controlled home for a fraction of the cost of the Avallo unit. The temperature stays between 66 and 68 degrees all the time and the humidity is right at 65%. About once every two months I have to put a dish with a little distilled water in the unit to recharge the beads. Other than that, it’s maintenance-free.
photo credits: Stogie Guys

 Patrick Ashby
Co-Founder & Editor in Chief
 Patrick Semmens
Co-Founder & Publisher
 George Edmonson
Tampa Bureau Chief
What a great job you did Patrick M. Thanks for the links to the unit and tray maker. What was your final tally once it was all done?
Final Tally was tight around $400.
Great looking box!
A great solution. Will it bring temperature up? I leave my apartment for 3 months of winter, and the temperature gets down to low 50s; so, I would like a unit that could be a bit warmer than the room.
A refridge unit will not heat. Get a good digital thermostat that can control heat, (or heat & cool) (Heat thermo thurs on BELOW a set temp, cool thermo turns on ABOVE). Then wire it up to turn on a light bulb socket. Be VERY gentle with the wattage here. In a wine refridge, a 40W bulb will cook your cigars within an hour even is the surrounding temp is 60° or less. Begin with a 7W (seven not seventy) watt bulb, and work from there. The electricians supply place will be your friend. Good Luck
I’m getting ready to drill a hole in my Edgestar for a Johnson Temp Controller (A419). I’m curious why you choose to go through the bottom? I was thinking of the backside, below the cooling unit, but I think I like your approach better.
Patrick,
Would a cigar oasis unit work as well as the humidity beads? I am thinking a Cigar Oasis XL would do the trick. Your thoughts?
Wade
From what I’ve been reading, the majority of folks are using beads in a cooler. An Oasis works but I think after a while the same folks tend to introduce beads. A wine cooler is just not that large of an area and beads are more than sufficient and reliable not requiring batteries. An Oasis can only add humidity. Beads can both add and absorb humidity; a wonderful thing! I bought beads from Heartfelt Industries. I recommend using their bead calculator to calculate how many beads to buy. I then doubled the amount. This helps the RH recover that must quicker when the door is opened and closed. RH beads are rendering hygrometers useless. The only reason I use one is to monitor the RH trend. (IMHO)
Thanks Dennis. I think I am going to go with Vinotemp 28 with a pound of Heartfelt beads. I figure that will do the trick.
Great job on the custom humidor! You have inspired me to convert one for myself. I live out in Guam (I know.. wheres Guam right? Small island in the pacific) and its tough to get larger humidors shipped out here because they typically ship via ground shipping. But the base exchange sells wine cabinets/coolers similar to yours. Now I just have to get the smaller parts/accesories and.. problem solved… Thanks a bunch. when I build mine, i'll be sure to send you a pic a two…
Scott – I've had my thermoelectric unit for mroe than two years and — knock on wood — it's still running just fine. It's not an elaborate setup as what Patrick M. did, but I have no complaints.
Scott – I've had my thermoelectric unit for more
than two years and — knock on wood — it's still running just fine. It's not an elaborate setup as what Patrick M. did, but I have no complaints.
OK… One year later… Does the unit still function? I have seen a lot of stuff about the thermoelectric units crapping out within a year, and I was wondering if it is holding up.
I have a walk in that heats up and was looking to cool wit a homemade unit. I have a mini frig and was thinking of drilling a hole on each side and duct air through it?
It's a great idea. Building humidor with temperature controlled is not so easy. But I think with your help I never be failed to make this. Thank you.